The 6 ideas below run from $40 in peel-and-stick vinyl to copper sheet work that needs patience and a tolerance for change.
What settles the choice is how long you need the surface to last, how much of the weekend you are willing to give it, and how much upkeep you can live with.
[link-whisper-related-posts]1. Concrete Countertops
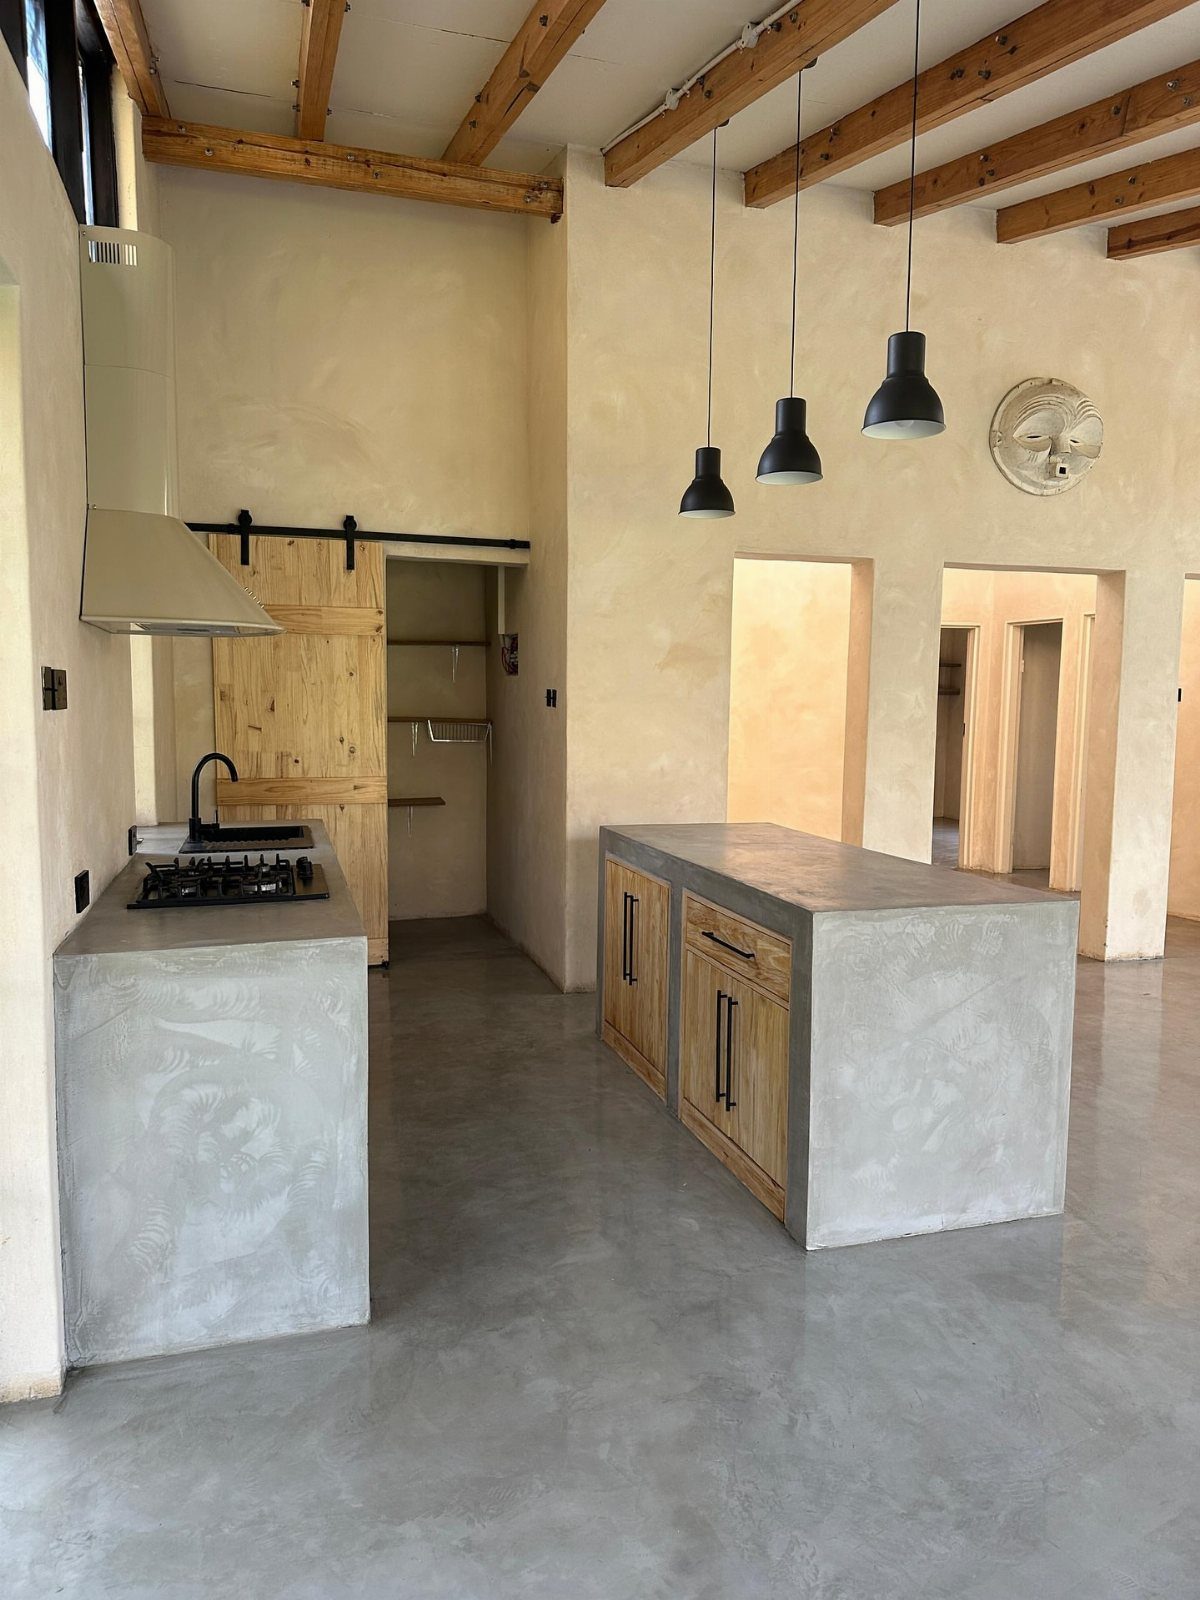
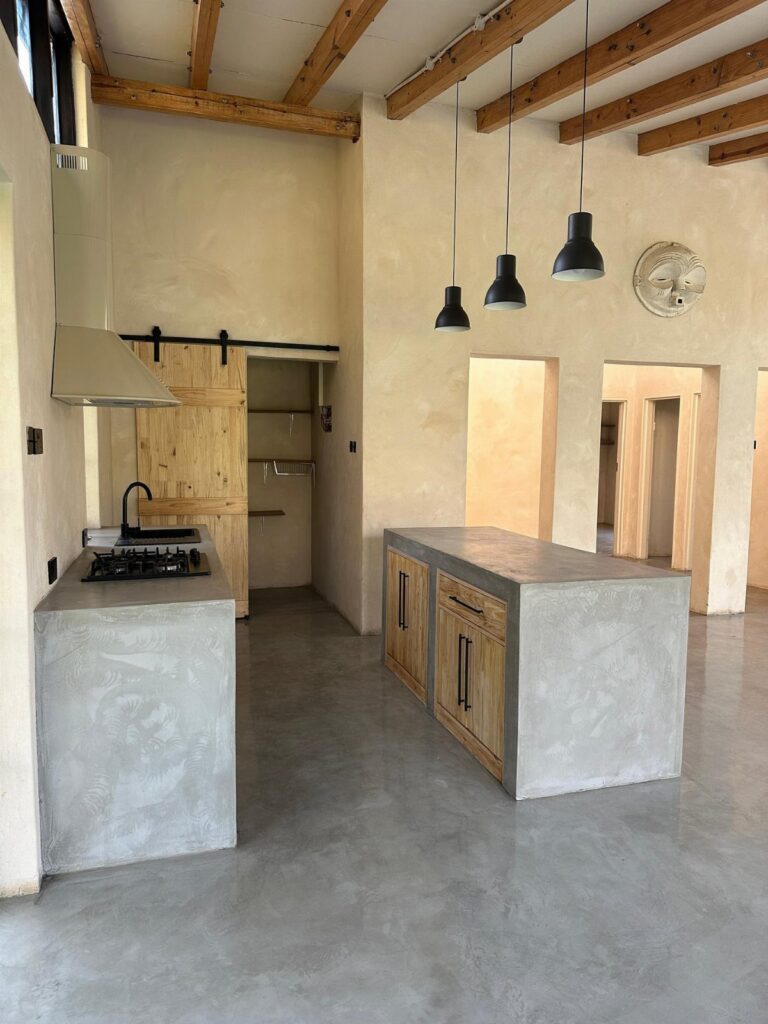
Solid poured concrete countertops start around $300 and run to $500 for a typical kitchen, which puts them in reach of most weekend budgets.
The pour-and-cure process demands exact measurements and some patience; sand, seal, and wax once it sets. Etching or staining adds some variation if you want it, or you can polish the surface flat and smooth.
I would take a short course or spend real time with prep-and-planning videos before mixing the first bag; a mistake in the pour is not one you fix on Sunday afternoon.
The finish is industrial, warm, and nearly indestructible once cured.
One thing is for certain: it’s not cheap. That said, The Home Project managed to install their DIY countertops for under $500!
— Bob Vila

Clear Glossy Finish - Stone Coat Epoxy delivers a crystal clear, glossy shine. Enhance your epoxy resin with epoxy color pigment, Metallic Powder, Mica Powder, or Glitter Powder for vibrant results.

Epoxy Undercoat Essential - Enhance your epoxy projects with our Epoxy Undercoat. Apply two coats to create a firm, sealed foundation that gives your surface a denser, thicker look and extends its lifespan.

CLARK' S SOAPSTONE KIT - An all-inclusive kit featuring Soapstone and Concrete Finish (6oz), CLARK’S Large Block Applicator, and a high-quality buffing pad. This kit is similar to CLARK' S food-grade mineral oil for cutting boards, providing superior protection for your soapstone and cutting boards as well
2. Butcher Block Countertops
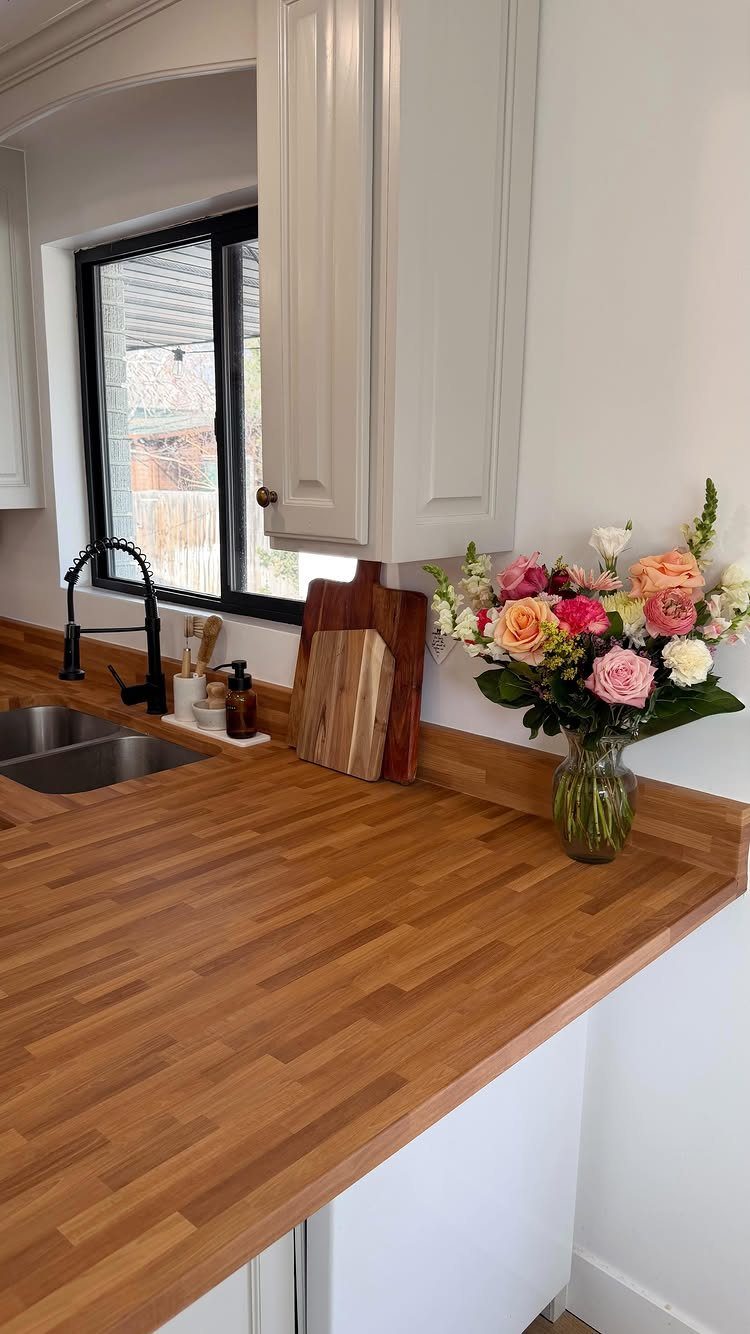
Butcher block brings in warmth that laminate and stone never match. Edge-glued birch panels with a routed edge and several coats of mineral oil turned my bare cabinet run into something that looked farmhouse for about $200.
Installation is straightforward enough that most homeowners manage the cut and fit themselves. The surface dings and stains over time, which is the point; the patina is part of the material.
Maple runs pale, walnut goes rich and dark, oak sits in between. Re-oil when it looks thirsty.

Revitalizing blend prevents drying and cracking of hardwoods and bamboo

NSF CERTIFIED FOOD GRADE - This premium mineral oil is NSF certified and lab-tested to meet the strictest food safety standards. Colorless, odorless, tasteless, and gluten-free — perfect for cutting boards, butcher blocks, and all food-contact surfaces.
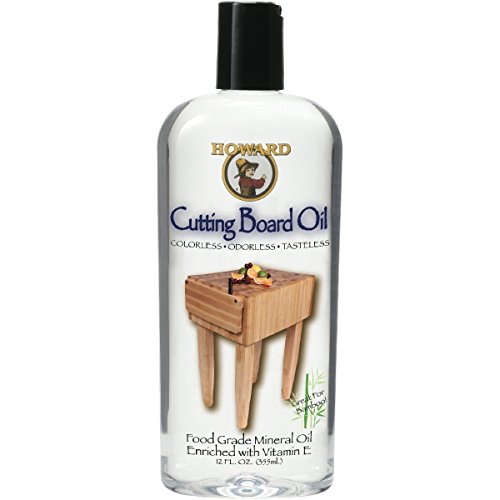
Cutting Board Oil is a deep penetrating 100% Pure USP Food Grade Mineral Oil that is tasteless, odorless, colorless, and will never go rancid
3. Epoxy Countertops
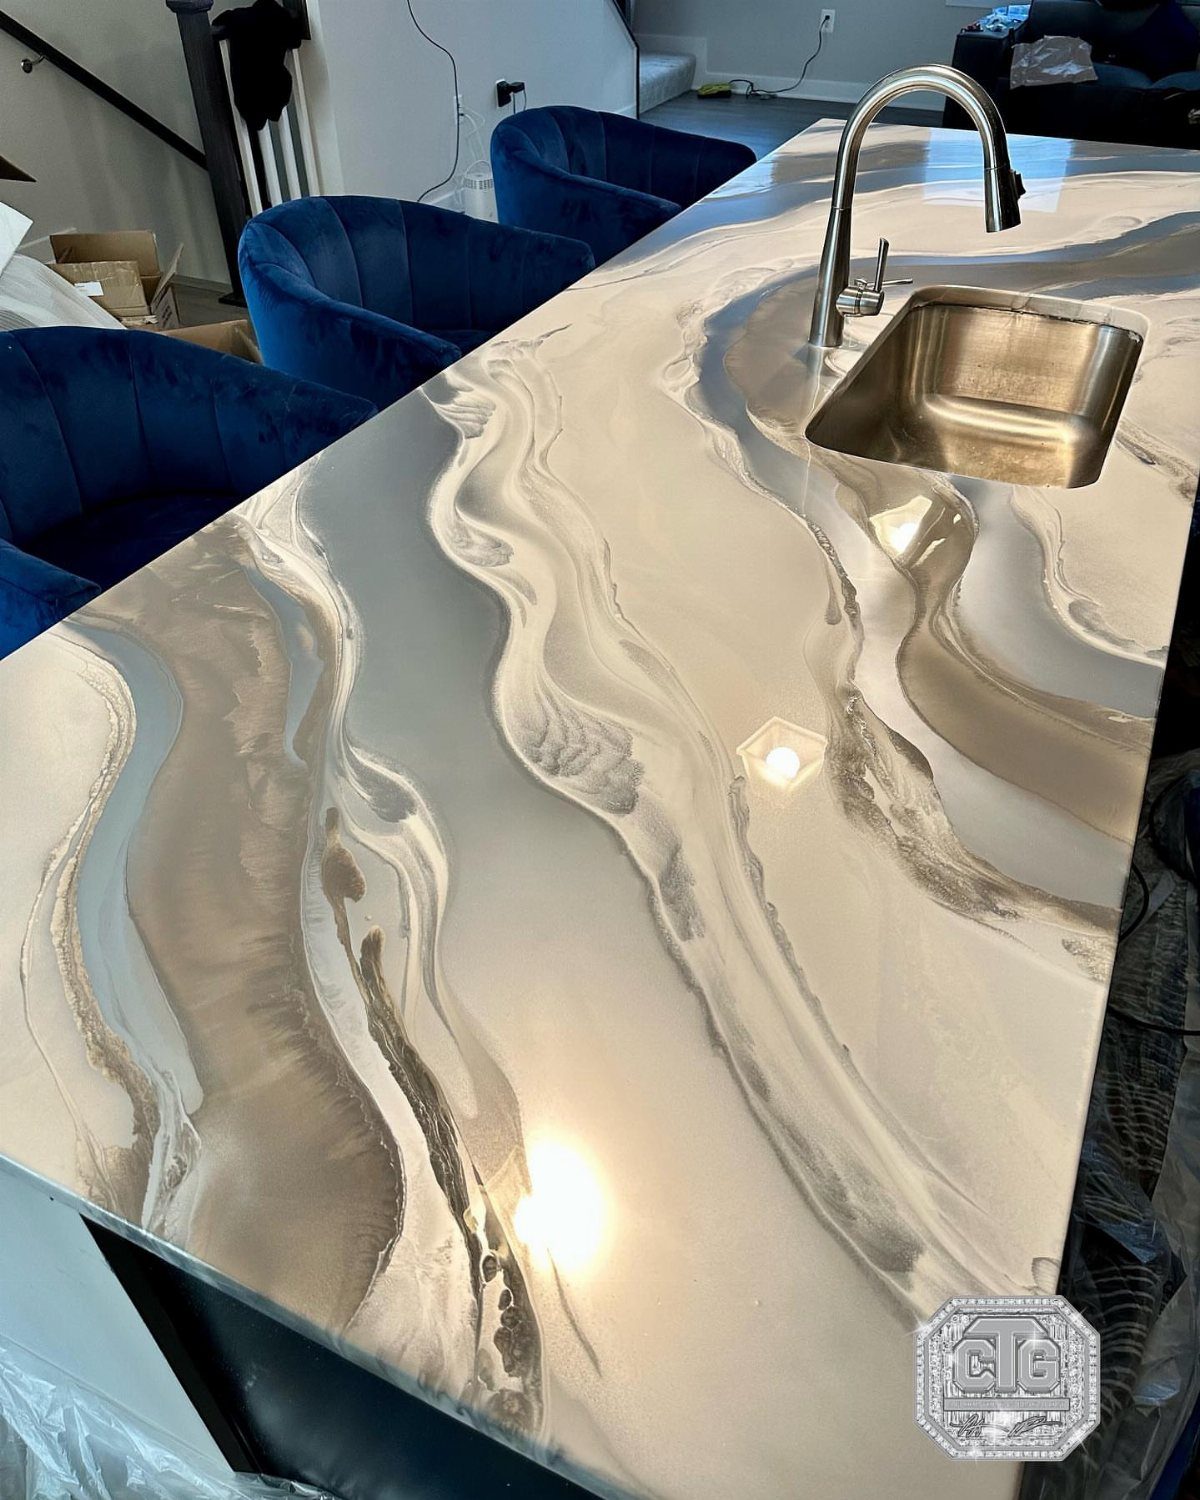
A poured epoxy coat over plywood or existing counters gives you the depth and swirl of stone for roughly $150 in kit and pigment.
The work is in the prep: tape off cabinets, mix your metallic powders, flood the coat, and chase bubbles with a torch before the cure sets.
2 days later the surface is hard enough for morning coffee. Order matters here; you cannot go back and torch after the gel stage.

Versatile Use - Our Metallic Powder is designed for use with Stone Coat Countertops epoxy resin kits, but it's also perfect for automotive paint, jewelry making, nail art, coasters and tumblers, and other arts and crafts projects. A great gift for craft enthusiasts!

Versatile Use - Our Metallic Powder is designed for use with Stone Coat Countertops epoxy resin kits, but it's also perfect for automotive paint, jewelry making, nail art, coasters and tumblers, and other arts and crafts projects. A great gift for craft enthusiasts!

Versatile Use - Our Metallic Powder is designed for use with Stone Coat Countertops epoxy resin kits, but it's also perfect for automotive paint, jewelry making, nail art, coasters and tumblers, and other arts and crafts projects. A great gift for craft enthusiasts!
4. Faux Carrara Marble Countertop
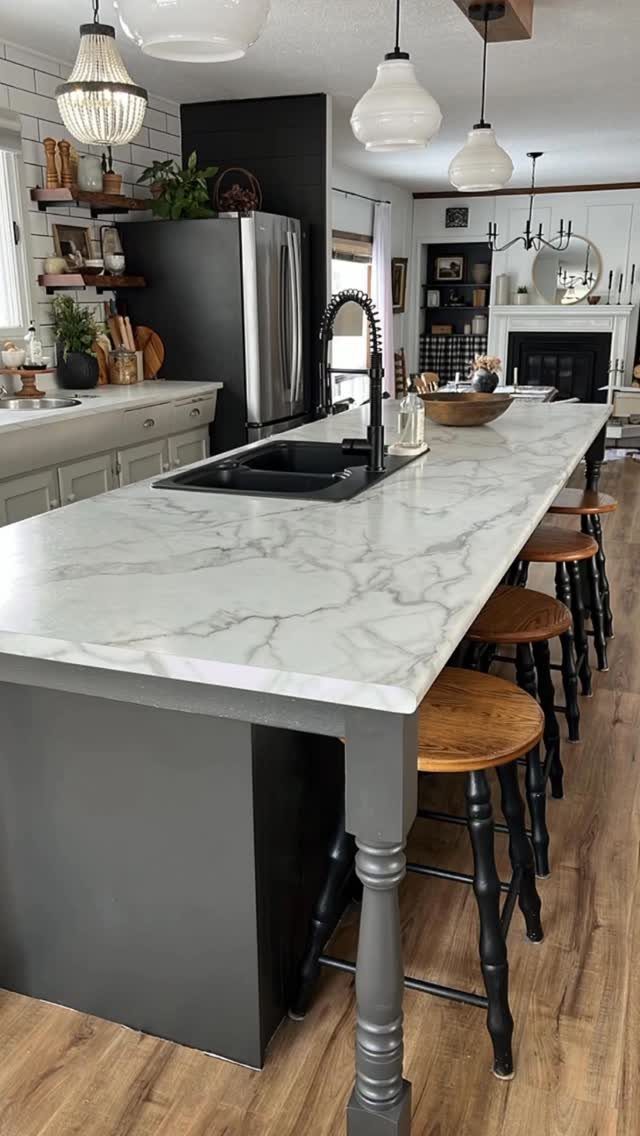
Painted faux Carrara marble is the entry that stops me cold every time. The maker of this island used a laminate base in 3460 Calacatta Marble, then built the veining by hand with paint.
If freehand marble feels like too much risk, marble-pattern contact paper is the lower-stakes route; clean, measure, and smooth bubbles out with a card.
Either way you are working with white ground and soft grey drift, not stark contrast. The painted version suits someone who wants the particular depth of real brushwork and has a steady hand.

Size: each peel and stick countertops contact paper is 11.8 inches wide by 118 inches long, covers 9.6 square feet, straight match

PEEL AND STICK WALLPAPER for countertops is a type of self-adhesive wallpaper that is specially designed to be applied on countertops. It is waterproof and easy to apply, as it does not require any extra glue or adhesive. Instead, the wallpaper has a pre-applied adhesive backing that allows it to stick securely to the countertop surface.

Realistic marble texture: Marble pattern, authentic Marble Look. Renovates your furniture with a low budget. Easy to cut into any sizes and shapes. White with gold textures for a realist feel and look
5. Copper Countertops
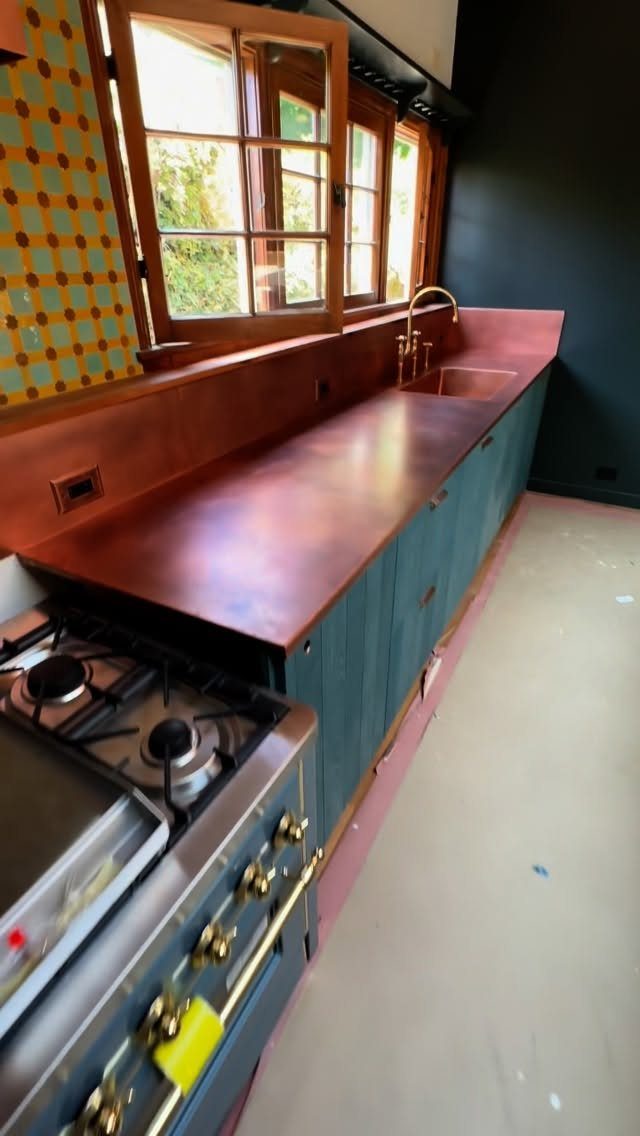
Copper countertops give a kitchen the kind of warmth that reads as high-end the moment you walk in.
The metal is soft enough to work with hand tools, but the techniques are specific; you are cutting, fitting, and often welding or seaming sheets that will patina to their own color over months.
The surface reacts to acid and water, which means living with change rather than fighting it.
This suits someone who loves the evolving surface of a copper pan and does not need the counter to stay the same color it was on install day.
Cost runs higher than paint or laminate, and the skill threshold is real.

PRODUCT DETAILS – Dimensions: 17.7in×118in / Roll (14.5 Square Feet / Roll) black wood wallpaper. Material: Vinyl / PVC black wood peel and stick wallpaper. Material thickness: Our black wood wallpaper is made of heavy-duty vinyl (0.15mm thick). Adhesive & Packaging: Features repositionable adhesive with no residue, and reinforced protective packaging to minimize transportation damage
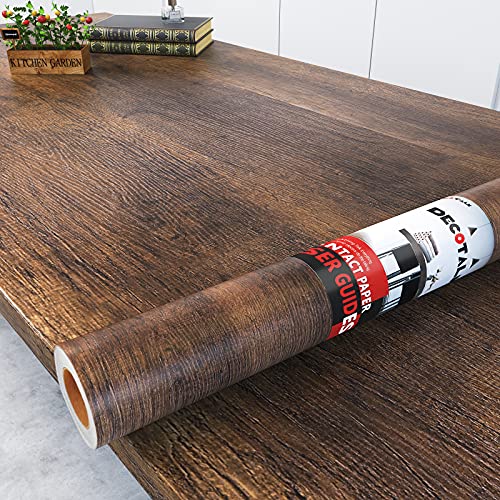
🚪SIZE: 1 roll of contact paper wood -12 x 120 inches (0.3 x 3M), covering 10 sq.ft.

Glossy Marble Wallpaper: Colors are white and gray with a hint of brown due to lighting. Size is 11.8 inches X 78.7 inches. Before purchasing, be sure to measure your own size. This is our minimum size, when purchasing, please confirm if this size meets your needs and we have more large sizes for you to choose from. Material is PVC, self adhesive, no additional glue required. Material upgraded, thickened and wear resistant, realistic marble effect
6. Faux Black Marble Countertops
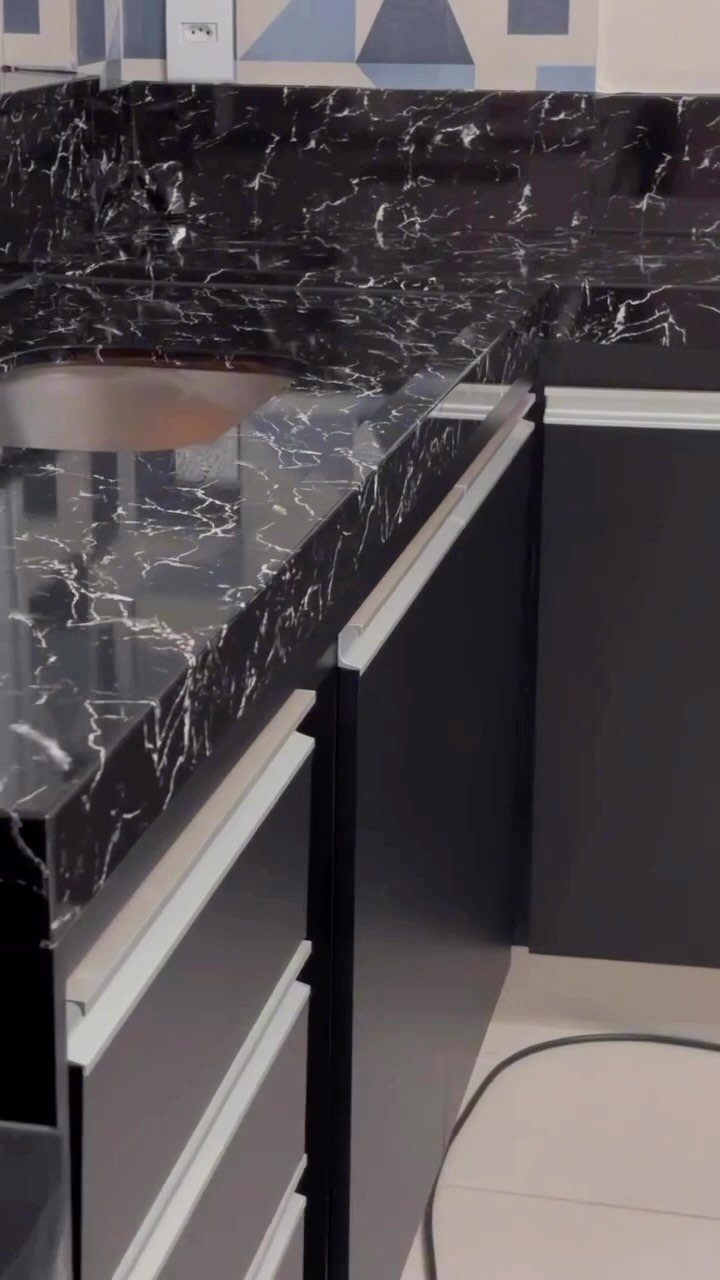
Peel-and-stick architectural vinyl in black marble with white veining runs about $40 a roll, which is less than takeout for a family.
Clean the existing surface, measure twice, peel once, and smooth bubbles out with a credit card edge. The result is glossy, dramatic, and reads as stone from across the room.
Flat-panel cabinets with sharp hardware are the right pairing here; the counter carries enough visual weight that ornate surroundings would fight it. Painted faux marble is the other cheap path, though black demands more coats and more patience than white.

Clear Glossy Finish - Stone Coat Epoxy delivers a crystal clear, glossy shine. Enhance your epoxy resin with epoxy color pigment, Metallic Powder, Mica Powder, or Glitter Powder for vibrant results.
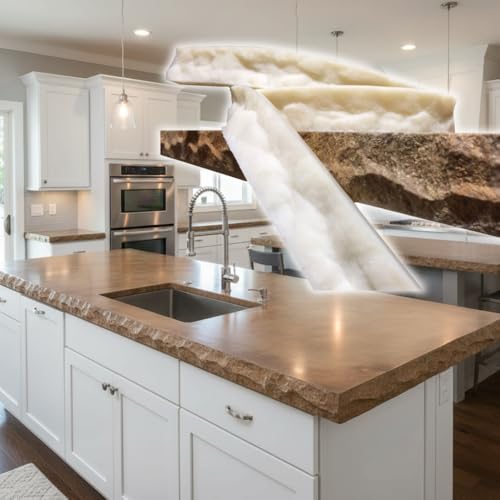
【Professional-Grade Detail】 Shape concrete edges into elegant designs – rope, stone, vines & more – for countertops, vanities, and stairs.

Marble Countertop Repair Kit Color Match: Marble repair kit includes 160g/5.64oz large capacity white repair paste. Match with 5 color gel, mix to get different color series, meet the broken repair of different color items. You don't need to add other paints to the surface
Cost Comparison
The gap between doing it yourself and hiring out is wider than most people guess.
Paint over laminate runs about $120 if you handle it, against roughly $600 with a pro; that is $480 back in your pocket. A concrete feather finish cost me roughly $240 in materials, while pro installation starts around $800, which meant $560 stayed in my account.
Budget butcher block is roughly $600 self-installed against near $1,500 hired out, a $900 difference. Those figures cover a 30-square-foot kitchen, about the size of a galley workspace; double the area and the ratio of DIY savings holds steady.
The emotional payoff of pointing at finished work and owning it is harder to price, but it is real.

NSF CERTIFIED FOOD GRADE - This premium mineral oil is NSF certified and lab-tested to meet the strictest food safety standards. Colorless, odorless, tasteless, and gluten-free — perfect for cutting boards, butcher blocks, and all food-contact surfaces.

Food Grade - SMPLY. Mineral Oil is perfect for cutting boards, wooden spoons, butcher-block countertops, and any wooden surface that is used to prepare food!

FOOD-GRADE MINERAL OIL FOR CUTTING BOARDS: Helps restore and protect dry cutting boards, butcher blocks, and wooden kitchen surfaces. Refreshes dull, worn wood and helps prevent cracking or splitting; works on bamboo, teak, acacia, olive wood, and hardwood boards
Durability Considerations
Not every DIY countertop ages the same. Contact paper is a short-term fix; it will buy you months, not years, on a worn laminate surface.
Painted counters with a proper kit, primer, and food-safe glossy sealer hold up better, though the finish is still cosmetic and will show wear eventually.
Epoxy kits with stone chips and epoxy-like paint last longer if you follow the instructions exactly. Concrete, once cured and sealed, is nearly indestructible; butcher block gains character as it dings and stains, which is the whole idea.
Copper changes by design, reacting to acid and water whether you want it to or not. The honest choice is between living with impermanence or putting in the work for something harder.

EXTEND THE LIFESPAN OF YOUR EPOXY – Mix Epoxy Thickener with clear epoxy from Stone Coat Countertops to increase the hardness, tensile, and elongation of your epoxy! When finished, the surface of your project will be ultra-smooth and strong enough to last for years to come!

Charcoal black mica: Deep black pigment with pearlescent shimmer and dimensional depth.

Versatile Use - Our Metallic Powder is designed for use with Stone Coat Countertops epoxy resin kits, but it's also perfect for automotive paint, jewelry making, nail art, coasters and tumblers, and other arts and crafts projects. A great gift for craft enthusiasts!
Skill Level Required
Peel-and-stick vinyl and contact paper ask almost nothing; clean, measure, smooth bubbles, and you are done.
Butcher block installation is straightforward for most homeowners; a circular saw and a careful cut get you there. Epoxy demands more choreography: mixing pigments, flooding the coat, torching bubbles before the gel stage sets.
Concrete wants exact measurements and a full cure cycle; one mistake in the pour and you are not fixing it Sunday afternoon. Match the project to the tools you already own and the time you actually have.
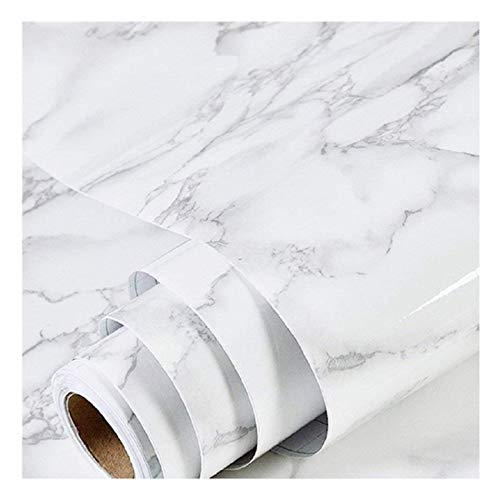
Real Marble: Faux marble wallpaper peel and stick, designed according to the real marble texture, is beautifully designed in white and grey. Its delicate texture, rich color and excellent finish make it a calm atmosphere, luxurious texture looks very real, allowing you to enjoy the real marble scene at a cost-effective price

SIZE& MATERIAL: This marble countertop contact paper is 15.7 inches wide by 118 inches long, coverage in 13 square feet each roll. Made of high quality vinyl, thick, durable, matte finish, elegant beige gold marble look

Unique design:Cohoo Home matte marble wallpaper features a unique matte damask finish that lends it a richer texture. Whether under natural light or artificial lighting, it creates a soft, comfortable atmosphere for your home
Maintenance Tips
Sealing is what separates a finish that lasts from one that does not. Painted counters need a food-safe grade glossy sealer over the full coat; skip this and the paint lifts where water sits.
Butcher block wants re-oiling when it looks thirsty, not on a schedule but by eye; maple, walnut, and oak all drink at different rates.
Concrete gets sanded, sealed, and waxed after cure; etching or staining is optional but the seal is not.
Epoxy is maintenance-free once hard, though the prep before pour is where you earn that. Contact paper and vinyl have no seal step and no repair; when they lift or tear, you replace them.
Stone-chip refinishing kits with epoxy paint outlast standard paint by years, but only if you respect the full cure time before you use the surface.
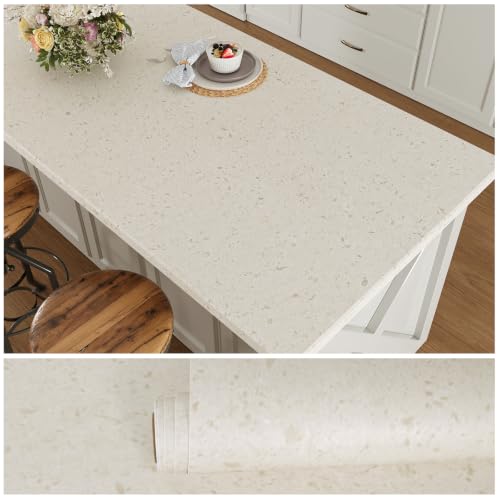
Peel and stick countertops, countertop contact paper, contact paper for countertops

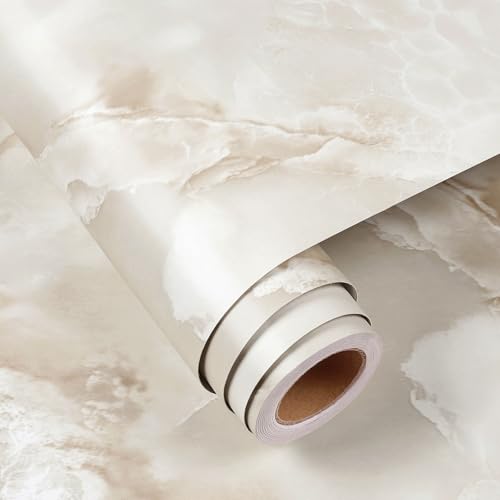
⭐𝐌𝐚𝐫𝐛𝐥𝐞 𝐂𝐨𝐧𝐭𝐚𝐜𝐭 𝐏𝐚𝐩𝐞𝐫: Peel and stick marble contact paper, self adhesive, removable, bubble free, repositionable. Not sticky residue left, not damage the surface.
Frequently Asked Questions
Can a DIY cut granite countertop?
Cutting real granite at home is not practical for most renters and first-home owners. The stone demands a wet saw with a diamond blade, water cooling, and serious weight handling; one wrong cut and the slab is lost.
What are basic kitchen countertops made of?
The most common factory countertops are laminate, solid surface like Corian, butcher block, and natural or engineered stone. Laminate is the usual starting point in rentals and older homes; it is cheap, uniform, and easy to cover.
Solid surface costs more but can be sanded; stone is the premium tier that most DIYers replace rather than install from scratch.
What are some budget-friendly ideas for kitchen countertops?
Painted laminate runs about $120 for a small kitchen, peel-and-stick vinyl in marble pattern costs roughly $40 a roll, and a butcher block panel runs near $200.
Epoxy over plywood lands around $150 in materials, while a concrete skim coat cost me about $240. Each of these finishes in a weekend or 2 and asks only basic tools.
Can Home Depot cut a countertop for me?
Big-box stores will cut sheet stock like butcher block or laminate to your measurements, sometimes for a small fee.
They will not cut natural stone; that travels to a stone yard with CNC saws. For the DIY methods here, you are doing the cut yourself or buying pre-sized panels that fit standard cabinet depths.
Can I really finish a concrete skim coat in one weekend?
Yes, if you start Saturday morning and respect the cure times. A concrete skim coat spreads in thin layers with a trowel, and each layer needs time to set before the next one goes on.
Read the bag for exact dry times, but plan for 2 days if you want a finish that holds up to coffee cups and cutting boards.
Seal the last coat before Sunday evening and the counter is ready for Monday coffee. A full poured slab is different; that needs days to cure, not hours.
How do you cover old countertops?
Paint, peel-and-stick vinyl or contact paper, and tile are the usual covers. Paint with a refinishing kit gives the most durable finish; vinyl is the fastest and cheapest; tile is permanent but demands a level surface and grout work.